
Skip to main content Scroll Top
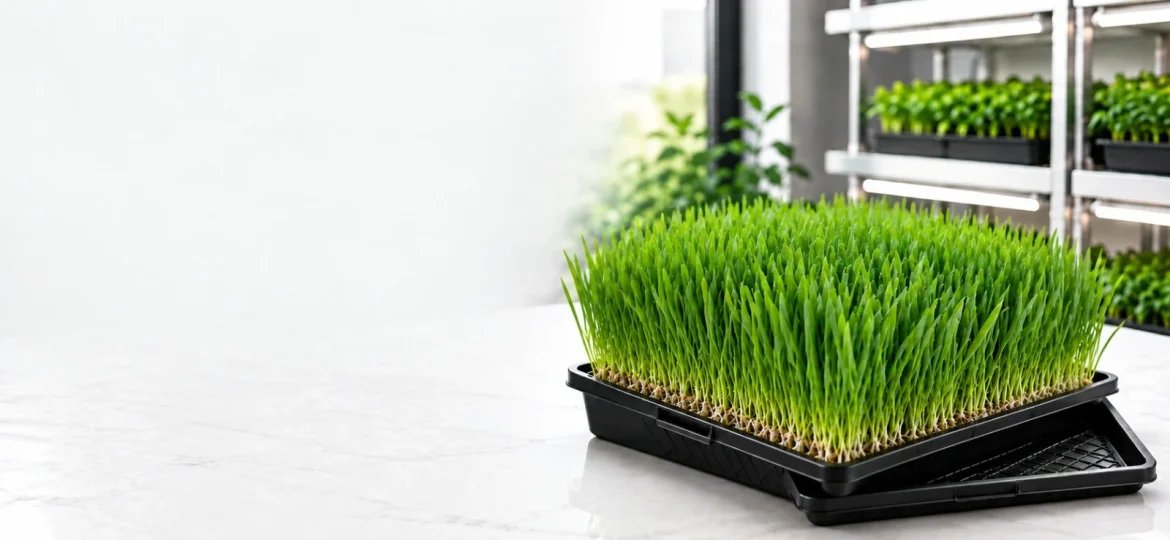
Tray of bright green microgreens growing in a black plastic tray on a white countertop, with metal shelving in the background.

How to Grow Microgreens at Home in India: Trays, Seeds and a Simple 10-Day Plan

Microgreens are young vegetable and herb plants harvested just 7–14 days after sowing – when the first leaves have opened. They are packed with flavour and nutrients, need very little space, and are the fastest crop you can grow at home. A kitchen shelf, a window sill or a small rack is enough.

In this guide you will learn what you need, how to grow microgreens step by step, which varieties are easiest for beginners in Indian conditions, how to fix common problems, and how small growers are turning microgreens into a business.

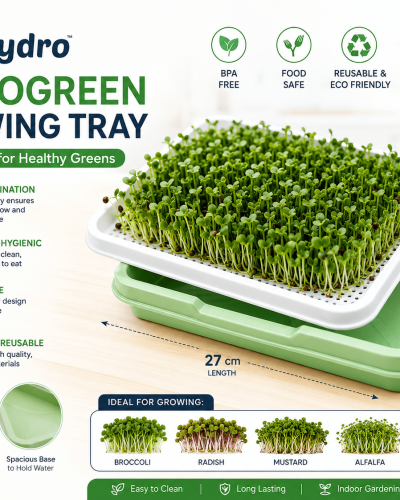
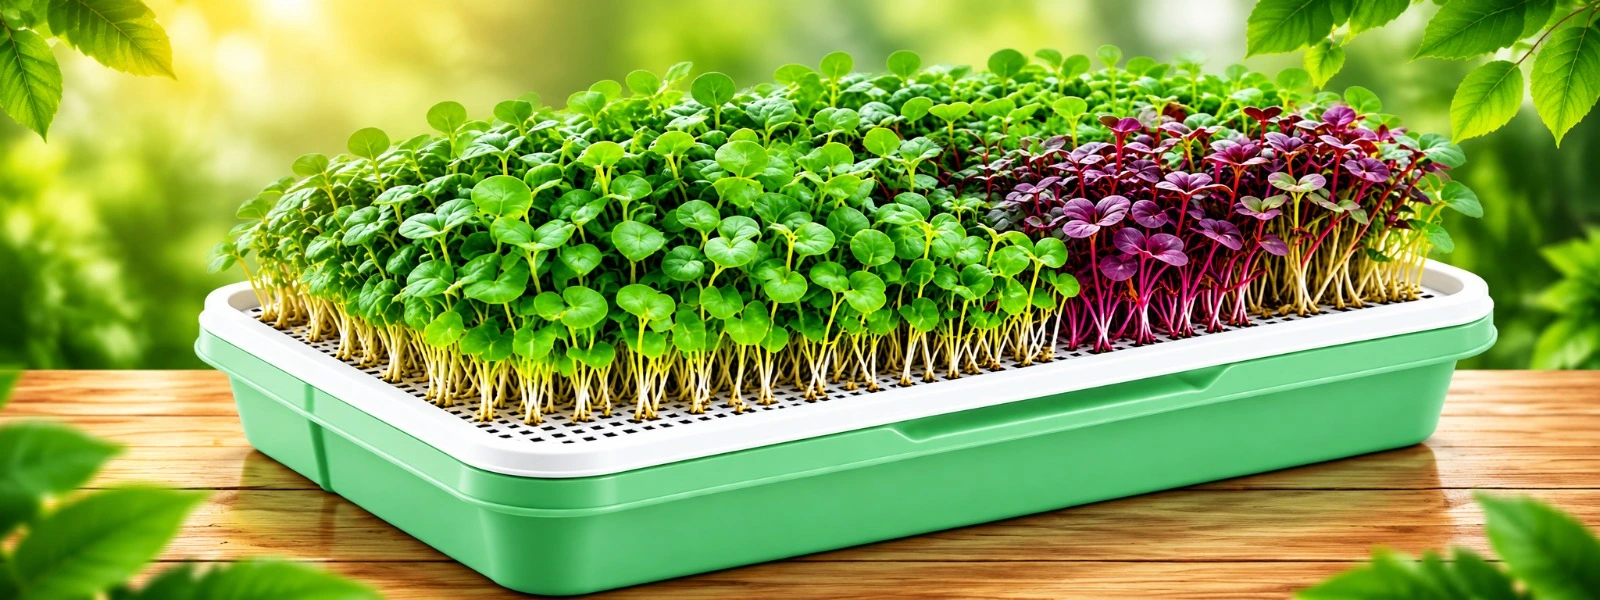
Green and purple microgreens growing in a perforated hydroponics tray

Microgreens ready for harvest in about 10 days

What Are Microgreens?

Microgreens sit between sprouts and baby greens. Sprouts are eaten seed and all after 2–4 days in water; baby greens are harvested after 3–4 weeks. Microgreens are grown on a thin base with light, and cut above the base once the cotyledons (first seed leaves) open – usually in 7 to 14 days.

Studies have found that many microgreens contain higher levels of vitamins and antioxidants than the mature plant, gram for gram. Chefs use them for flavour and colour, and families add them to salads, sandwiches, parathas, poha and smoothies.

🌱

Microgreens do not need soil or fertiliser for a short 7–14 day crop – the seed carries enough food. Clean water, a thin base, good light and air flow are what matter.

What You Need to Grow Microgreens

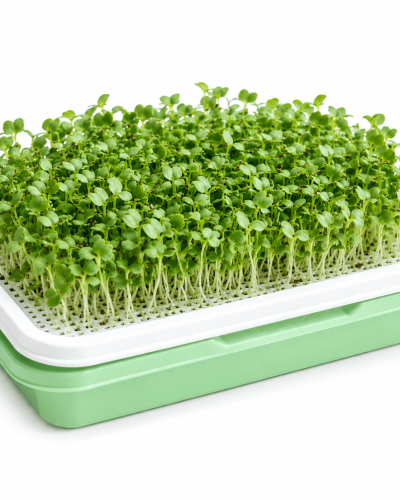
  • A microgreens tray set – a perforated growing tray that sits in a solid water tray, so you can water from below and keep leaves dry.
  • Seeds – untreated seeds meant for eating or microgreens (not chemically treated farm seed).
  • A thin base – 1–2 cm of washed coco peat, a microgreens mat, or tissue/cotton for small seeds. Many growers use the perforated tray alone for larger seeds.
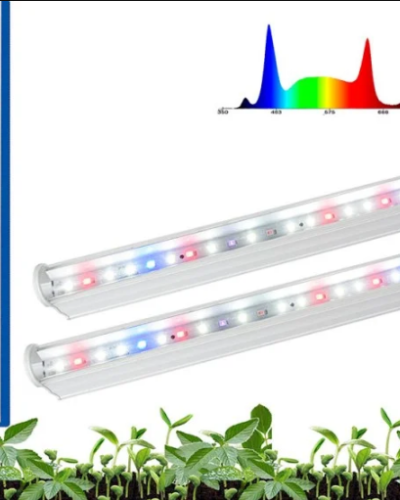
  • Light – a bright window works; a small LED grow light gives faster, even, upright growth.
  • A spray bottle for misting during germination, and clean scissors for harvesting.
Clear Filters
INHYDRO T5 – Custom LED Grow Light – White ( Set of 2 ) INHYDRO T5 – Custom LED Grow Light – White ( Set of 2 )
-20%
Original price was: ₹1,500.00.Current price is: ₹1,199.00.
Microgreens Growing Tray | Soil-Free Seed Germination Kit for Sprouts Microgreens Growing Tray | Soil-Free Seed Germination Kit for Sprouts
-43%
Price range: ₹570.00 through ₹2,850.00
Select Options This product has multiple variants. The options may be chosen on the product page
Item added to cart View Cart Checkout

How to Grow Microgreens: Step-by-Step

Step 1: Soak large seeds

Soak big seeds such as pea, sunflower, chana and moong in clean water for 6–8 hours (overnight). Small seeds – radish, mustard, amaranth, broccoli, fenugreek – do not need soaking, though methi germinates faster after 2–3 hours.

Step 2: Prepare the tray

Wash the tray. If you use coco peat, spread a level 1–2 cm layer and moisten it until damp, not dripping. Pour a little water in the bottom tray.

Step 3: Sow thickly and evenly

Scatter the seeds evenly so they almost touch but do not pile up. Press them gently into the base with your palm. Mist the surface well.

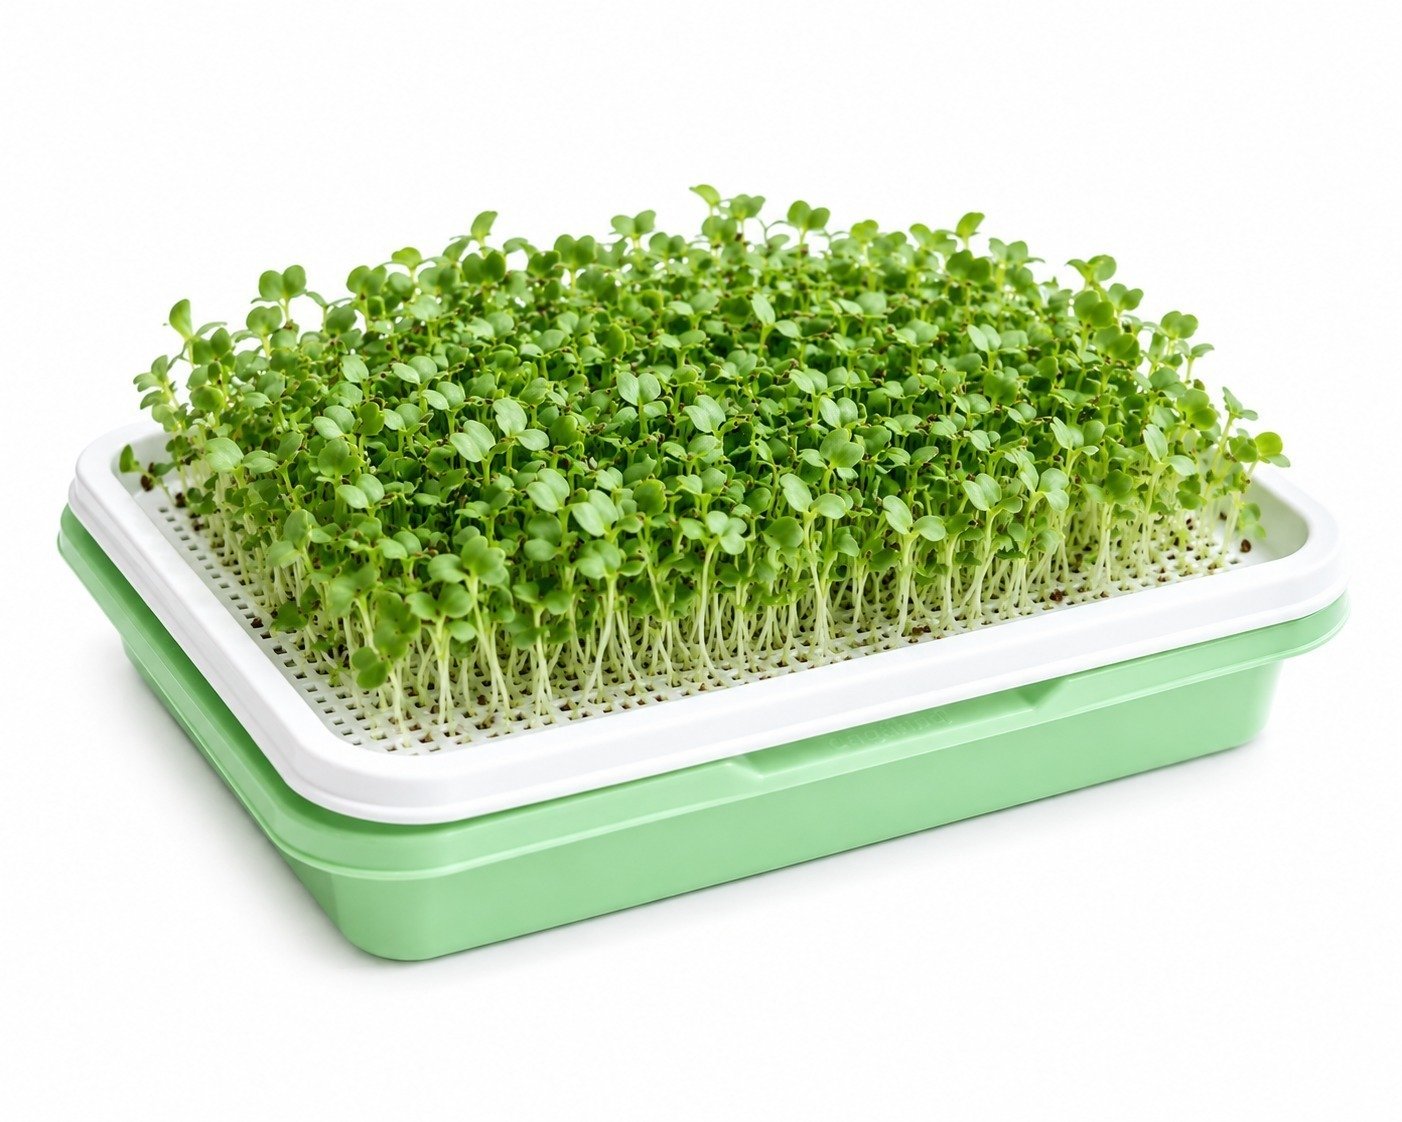
Dense green microgreens growing in a white perforated tray

Sow thickly and evenly for a dense, uniform crop
Step 4: Keep in the dark for 2–3 days

Cover the tray with another tray or a lid (a little weight on top helps roots grip the base) and keep it out of direct light. Mist once or twice a day so the seeds never dry out.

Step 5: Give light and water from below

Once most seeds have sprouted and are pushing up the cover, remove it and place the tray in bright light – near a window or 15–30 cm under an LED grow light for 14–16 hours a day. From now on, water by filling the bottom tray so the leaves stay dry, and empty any stale water every 2 days.

Step 6: Harvest

Harvest when the first leaves are fully open – usually day 7–14 depending on the variety. Cut just above the base with clean scissors. Do not wash until you are ready to eat; store dry in a box lined with tissue in the fridge, where they stay fresh for 5–7 days.

📅

Simple 10-day plan: Day 0 soak and sow → Day 1–3 covered, mist daily → Day 3–4 uncover, give light → Day 4–9 bottom-water every 1–2 days → Day 8–12 harvest. Sow a new tray every 3–4 days for a continuous supply.

Best Microgreens for Beginners in India

VarietySoakReady inTaste and use
RadishNo6–8 daysPeppery and crunchy – salads, sandwiches
MustardNo7–10 daysSpicy – chaat, wraps, garnish
Fenugreek (methi)2–3 hours8–10 daysMildly bitter – parathas, dal, raita
Pea shoots6–8 hours10–14 daysSweet and fresh – stir-fry, salads
Sunflower6–8 hours8–12 daysNutty and crunchy – snacks, salads
AmaranthNo10–14 daysMild, bright red-pink – garnish, plating
BroccoliNo8–12 daysMild – smoothies, salads; very nutritious

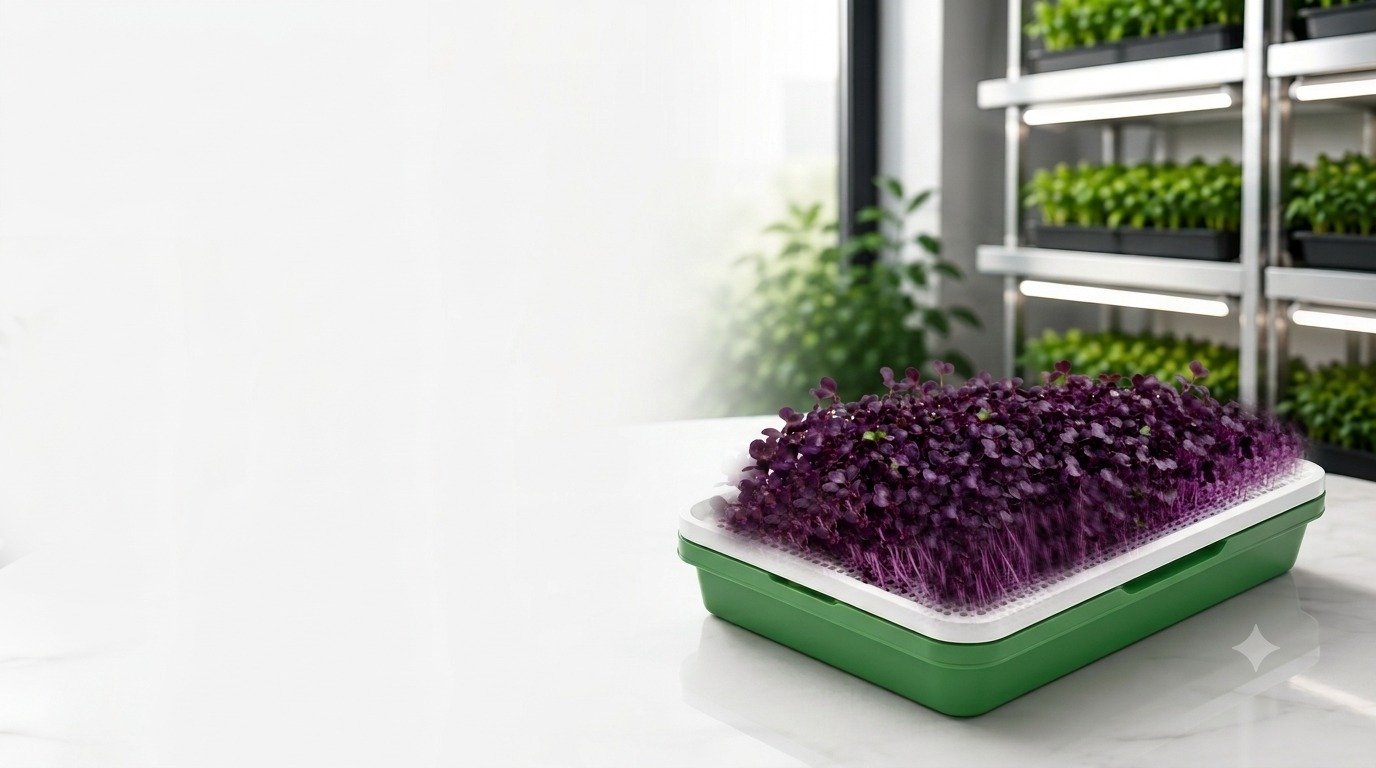
Purple microgreens in a growing tray in a vertical farm

Colourful varieties like amaranth and radish sell at a premium

Common Microgreens Problems and How to Fix Them

  • White fuzz around the roots: usually fine root hairs, which are normal – they disappear when misted. Grey, slimy or smelly mould means too much water and poor air flow: water less, empty the bottom tray, and add a small fan.
  • Tall, pale, falling seedlings: not enough light. Move closer to the window or lower the grow light.
  • Patchy germination: seeds dried out or were sown unevenly. Keep the cover on and mist regularly for the first 3 days.
  • Seed hulls stuck on leaves: common with sunflower and pea – a weight on the cover during germination helps; brush hulls off before harvest.
  • Slow growth in winter: germination slows below 18 °C. Keep trays indoors in a warm spot.

Can You Sell Microgreens? A Small Business Idea

Yes – microgreens are one of the easiest hydroponics businesses to start. Cafés, restaurants, hotels, cloud kitchens, gyms and health-food buyers pay a premium for fresh, local microgreens. A small room with racks, trays and LED lights can produce several kilograms a week, and you can harvest and sell within two weeks of starting.

Start with 3–4 popular varieties (radish, mustard, pea, sunflower), find 3–5 regular buyers, sow on a fixed schedule, and deliver in clean, labelled boxes. INHYDRO’s 3-day commercial hydroponics training covers microgreens production, costing and selling.

Frequently Asked Questions

Most microgreens are ready in 7 to 14 days. Radish and mustard are among the fastest at 6–10 days; pea, sunflower and amaranth take 10–14 days.

Yes. Microgreens grow well on a perforated tray with water below, on coco peat, or on a microgreens mat. The seed contains enough food for the short growing period, so no soil or fertiliser is needed.

They need bright light after germination. A sunny window can work, but an LED grow light for 14–16 hours a day gives faster, greener and more upright growth, especially indoors or in winter.

Most do not regrow well after cutting. Compost the base and roots, wash the tray and sow a fresh batch. Pea shoots can give a small second cut.

Use untreated seeds sold for eating or for microgreens. Avoid farm seed that has been coated with fungicide or other chemicals.

Do not wash before storing. Keep them dry in a closed box lined with tissue in the fridge. They stay fresh for 5 to 7 days; wash just before eating.

Conclusion

Microgreens are the quickest way to start growing your own food – one tray, a handful of seeds and some light give you a fresh harvest in about 10 days. Start with radish or mustard, follow the 10-day plan, sow a new tray every few days, and you will never run out of fresh greens.

Start growing microgreens with INHYDRO

Microgreens tray kits, LED grow lights and training for home growers and small businesses – delivered across India.

WhatsApp +91 85058 88800Visit the INHYDRO shop

author avatar
inhydro

Leave a comment