-

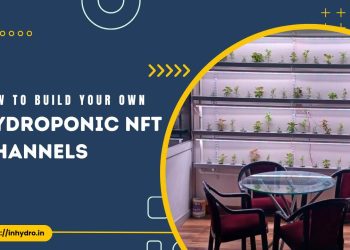
How to Build Your Own Hydroponic NFT Channels in 5 Easy Steps – InHydro
Hydroponics is a modern and innovative method of growing plants without the need for soil. Instead, plants are grown in nutrient-rich water solutions, allowing them to absorb all the essential nutrients they need for healthy growth.
09/05/2023 -
Growing Vertically with Hydroponic NFT Channels – InHydro
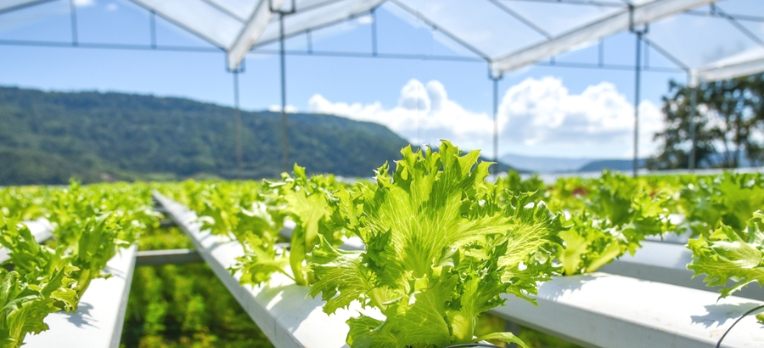
The hydroponic HDPE NFT channels are designed to provide a constant flow of nutrient solution to the roots of the plants. These channels are made from high-density polyethylene (HDPE), which is durable and lightweight, making it ideal for hydroponic applications.
27/04/2023 -
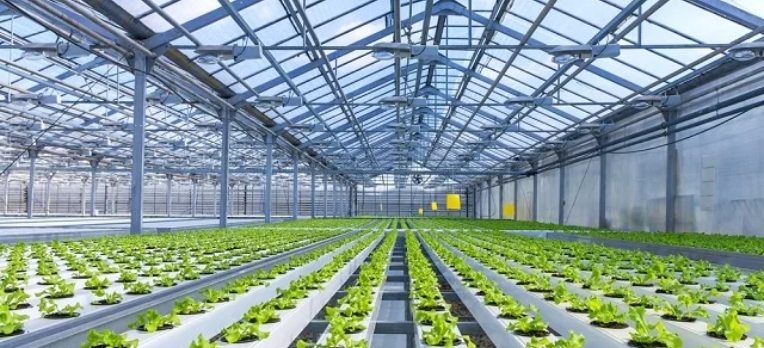
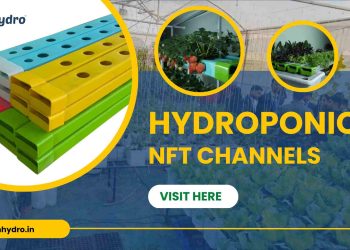
Hydroponic NFT Channel – InHydro
The Nutrient Film Method When it comes to vertical farming and growing leafy greens like spinach, kale, Swiss chard and rocket as well as herbs, flowers and medicinal plants, Channels, also known as NFT Channels, are the ideal hydroponics system.
20/04/2023 -
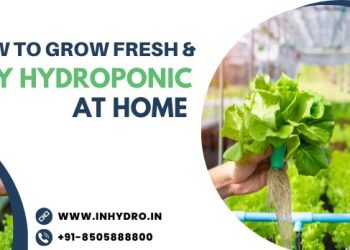
How to Grow Fresh and Healthy Hydroponic Food at Home | InHydro
Growing fresh and healthy hydroponic food at home is easier than you think. With the help of Inhydro, you can set up your own hydroponic farm setup and start growing your own food right away.
07/04/2023 -
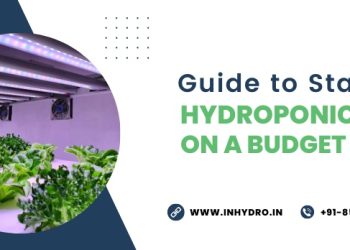
InHydro Guide to Starting a Hydroponic Farm on a Budget
Are you looking for a way to start a hydroponic farm on a budget? If so, Inhydro has you covered! Inhydro’s Guide to Starting a Hydroponic Farm on a Budget provides an in-depth look into the cost and investment required to set up a hydroponic farm, as well as the potential profit margins.
06/04/2023 -
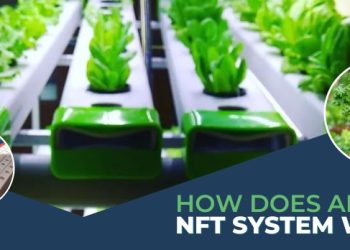
How Does an NFT Hydroponic System Work? | InHydro
Hydroponic NFT systems are becoming increasingly popular as a method of growing plants indoors. They are a great way to get into hydroponics without the need for a lot of space or equipment.
03/04/2023 -
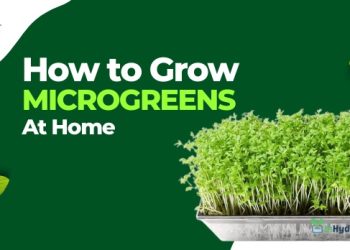
How to Grow Microgreens at Home | InHydro
Microgreens System is an easy, affordable way to enjoy fresh, healthy microgreens from the comfort of your own home. Microgreens are nutrient-dense, flavorful greens that can be used in salads, soups, smoothies, sandwiches, and more.
31/03/2023
-
How to Build Your Own Hydroponic NFT Channels in 5 Easy Steps – InHydro
Hydroponics is a modern and innovative method of growing plants without the need for soil. Instead, plants are grown in nutrient-rich water solutions, allowing them to absorb all the essential nutrients they need for healthy growth.
09/05/2023 -
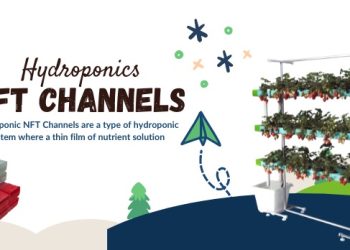
Growing Vertically with Hydroponic NFT Channels – InHydro
The hydroponic HDPE NFT channels are designed to provide a constant flow of nutrient solution to the roots of the plants. These channels are made from high-density polyethylene (HDPE), which is durable and lightweight, making it ideal for hydroponic applications.
27/04/2023 -
Hydroponic NFT Channel – InHydro
The Nutrient Film Method When it comes to vertical farming and growing leafy greens like spinach, kale, Swiss chard and rocket as well as herbs, flowers and medicinal plants, Channels, also known as NFT Channels, are the ideal hydroponics system.
20/04/2023